Build Guided Product Tours Using GuideChimp
New customers retention is a big concern for almost every SaaS provider. To engage new customers you need to help them reach “Aha!” moment faster.
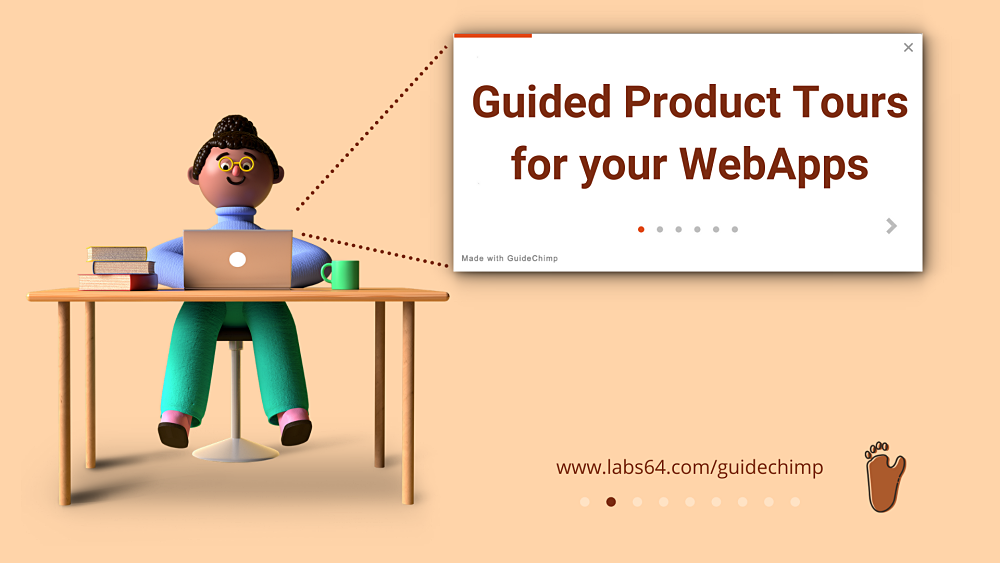
One of the proven tactics here is to offer a Guided Product Tour.
Numerous libraries allow you to create own guided product tours and onboard customers quickly. But today we want to present you another one - GuideChimp - a lightweight and extensible library that allows creating guided tours easily by every user, even inexperienced in web development.
Why is GuideChimp different?
Although it does the same job as other Guided Tour libraries, GuideChimp has a number of advantages:
- It’s easy to learn, requires minimum upfront knowledge.
- Compatible with the modern asynchronous & single page web applications written in React, Angular, Vue.js and other web frameworks.
- Extensible by plugins - a number of built-in plugins available or you can contribute by developing your own.
- Minimum overhead and fast response by deferred DOM elements assignment (lazy-loading).
- Multi-page tour capabilities.
- Interactive tours possible by adding event listeners and callbacks.
- …any many other useful features
GuideChimp is the most up-to-date and well-maintained library as of today. It is available under Apache 2.0 License.
How To Start
Install
There are multiple options available how you can include GuideChimp in your application. Choose the one that fits best to your technology stack:
- HTML Element declaration
- Node.js/npm Module
- ES6 Module
Use below example to add GuideChimp using HTML <head> elements:
<!-- GuideChimp -->
<script src="https://cdn.jsdelivr.net/npm/guidechimp@2/dist/guidechimp.min.js"></script>
<link rel="stylesheet" href="https://cdn.jsdelivr.net/npm/guidechimp@2/dist/guidechimp.min.css">
<!-- GuideChimp - GA plugin -->
<script src="https://cdn.jsdelivr.net/npm/guidechimp@2/dist/plugins/googleAnalytics.js"></script>
Configure
Below is the minimal configuration needed to create tour definition for your web app.
var tour = [
  {
    element: '#id1',
    title: 'Step 1',
    description: 'Lorem ipsum dolor sit amet, consectetur adipiscing elit, sed do eiusmod tempor incididunt ut labore et dolore magna aliqua.',
  },
  {
    element: '#id2',
    title: 'Step 2',
    description: 'Lorem ipsum dolor sit amet, consectetur adipiscing elit, sed do eiusmod tempor incididunt ut labore et dolore magna aliqua.',
  },
];
Every tour step can be associated with particular element on the page by specifying its CSS selector in element attribute.
As a next, you need to initialize GuideChimp object and define what action or event will start the tour. In this example we hook to the click on elemnt with id startTour (assuming such element is present on your page):
var guideChimp = new GuideChimp(tour);
document.getElementById('startTour').onclick = function() {
  guideChimp.start();
};
That’s all you need to get your first tour ready: by clicking on the element with id startTour you will see GuideChimp in action.
Conclusion
In this article we only showed the basic GuideChimp functionality. GuideChimp is flexible enough and allows you to adapt it visually and functionally as per your requirements and website design.
Please use GuideChimp wiki as a reference here: https://github.com/Labs64/GuideChimp/wiki
We hope this intro helped you to get started with GuideChimp, and inspired you to create first onboarding tour for your new users.
![]()
Be part of the community ( Discord ) - share your ideas and best practices, help other adopters, contribute to the GuideChimp ecosystem… be in the good company.
Stay up-to-date on GuideChimp social media channels: LinkedIn, Reddit, Twitter, Facebook, Instagram
Image Credits: GuideChimp